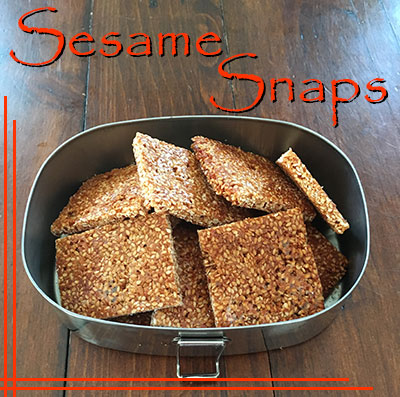
Sesame Snaps
I remember being a kid and getting these for Halloween and throwing them out because they resembled real food, and that wasn’t what Halloween was about. I assumed some old lady had run out of candy and had dug into the bottom of her purse for whatever she could find. Fast forward a few decades and hey, wait a minute….. These are pretty alright.
Sesame is an excellent source of minerals including calcium. Lots of parents worry about their child’s calcium intake, especially if they are not drinking milk. Here’s a little secret. If milk were not pasteurized, it might be a good source of calcium. But in Ontario, we can’t buy unpasteurized milk. Pasteurizing milk is essentially boiling it. People boil water to kill everything in it. Boiling milk, kills some of the enzymes required to absorb calcium in milk. Milk is also acidic in the body. An acidic body will leach calcium from bones and anywhere else it can find it. Sesame is not acidic, meaning it won’t leach calcium from the body. Absorbable calcium, alkaline, healthy fats and fibre. Sounds awesome to me!
This recipe calls for 1 cup of sunflower flour. You can easily make your own sunflower flour by placing whole seeds in your blender. It can purchased as well. If you’re not trying to go nut free, you can use almond flour.
You can half this recipe if you don’t want to freeze some, as this makes quite a lot – two full cookie sheets.
Ingredients:
- 2 cups raw hulled sesame seeds
- 1 cup sunflower flour
- 1 cup honey + 1 tbsp
- 2 tsp cinnamon powder
- 1 tsp ginger powder
Instructions:
- Heat the oven to 350F.
- Place a long length of parchment paper on your counter, about the size of a cookie sheet. Cut a second piece the same size and set aside.
-

Sesame Seeds in the pan
In a very large skillet toast the sesame seeds on medium heat. You don’t want to burn these suckers. Don’t walk away, don’t turn your back, because it will happen in an instant. Constantly stir until your seeds begin to change from blonde to light brown. You don’t want dark brown or black seeds.
- Once toasted remove from the heat and pour into a bowl. Add the rest of your ingredients and mix well until all incorporated.
- When well mixed, pour half the mixture in a line down the middle of the parchment paper. Place the second piece of parchment on top and use a rolling pin to roll out the mixture into a thin layer, about the size of your cookie sheet. Once the mixture is flat remove the top layer of parchment and set aside again. We will need this later.
 Sesame Seed mixture to be rolled out
 Sesame seeds rolled out
 Slice with a sharp knife
 - Place the sesame snap mixture, still on the parchment paper, on a cookie sheet and place in the oven for 10 minutes. After 10 minutes take the cookie sheet out.
- Place the saved parchment on a second cookie sheet and flip the cooked sesame snap onto the parchment to cook the other side. Peel the old piece of parchment off and return to the oven to cook another 10 minutes.
I use two cookie sheets because once I after I flipped it I forgot it was a hot pan and tried to pick it up again! Sometimes it’s worth the extra dishes, just to keep the skin on your hands.
Don’t worry if when you pull out the tray for the second time if it looks all bubbly and raised up. It will lay back flat once it’s cooled.
Repeat steps with the second half of sesame snap. Let cool completely before cutting it into squares.
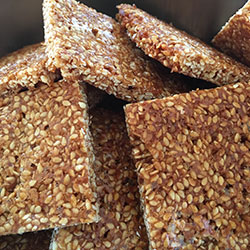
Sesame Snaps
Freezes well.
